1
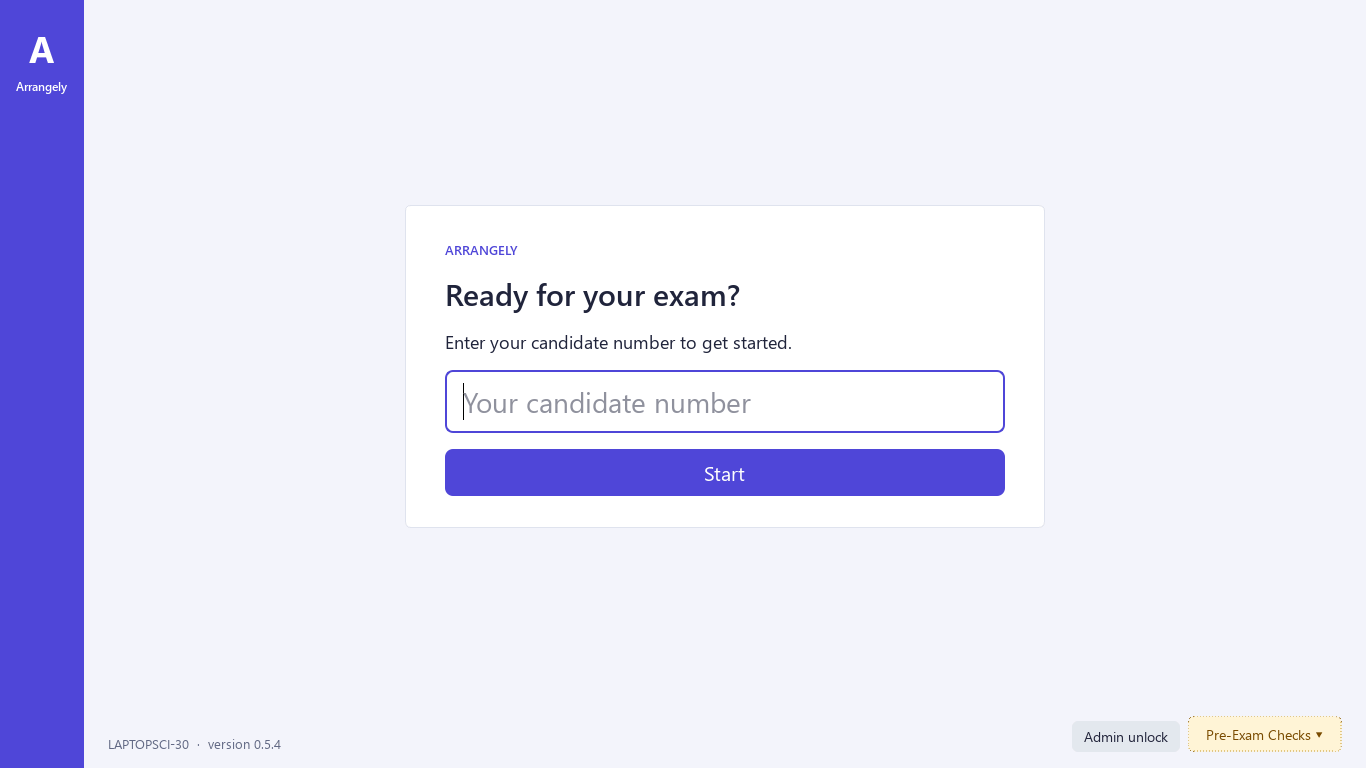
Type a candidate number
Laptops can wait on desks, locked at this screen. There are no accounts or passwords for candidates to remember.
How it works
Candidates don't need accounts or training. Your exams team sets things up once on your own server.
For candidates
Laptops can wait on desks, locked at this screen. There are no accounts or passwords for candidates to remember.
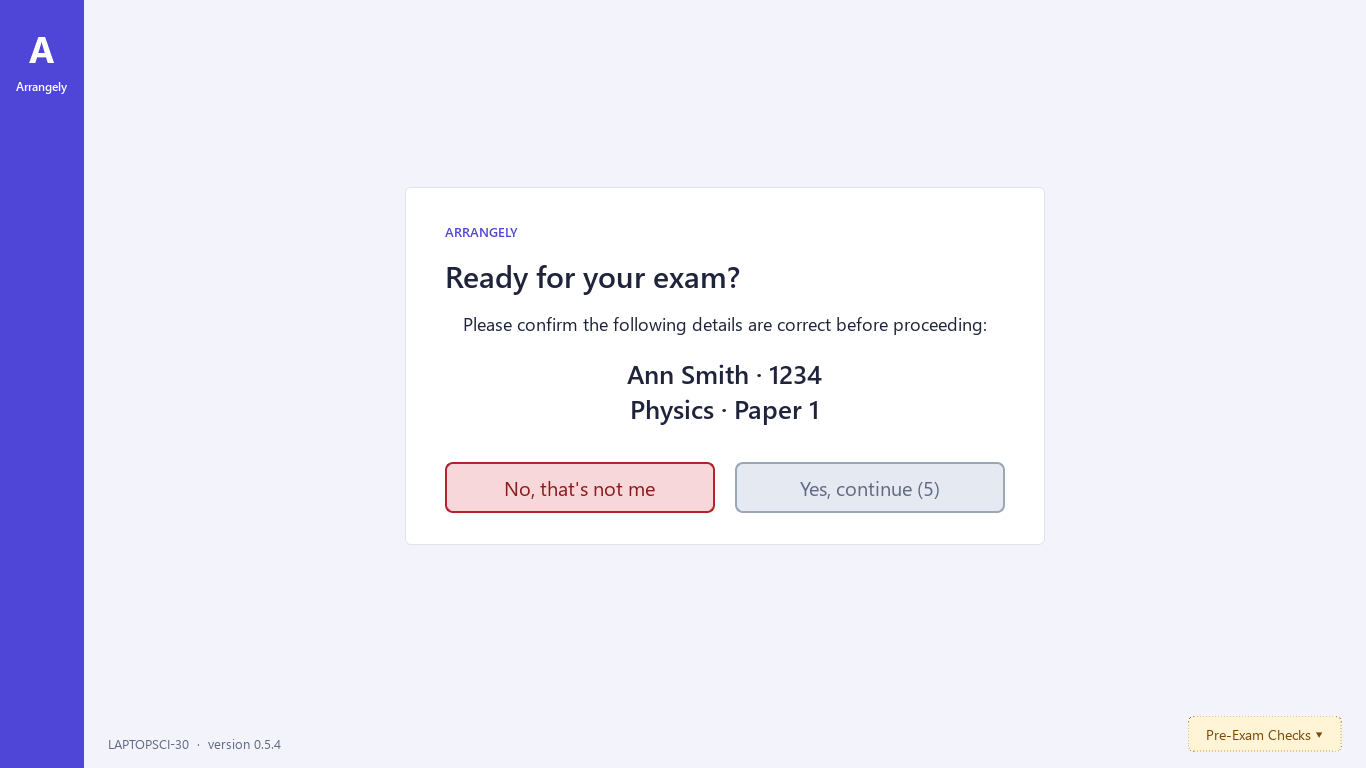
Their name and exam appear before anything opens. The continue button waits five seconds so they actually read it.
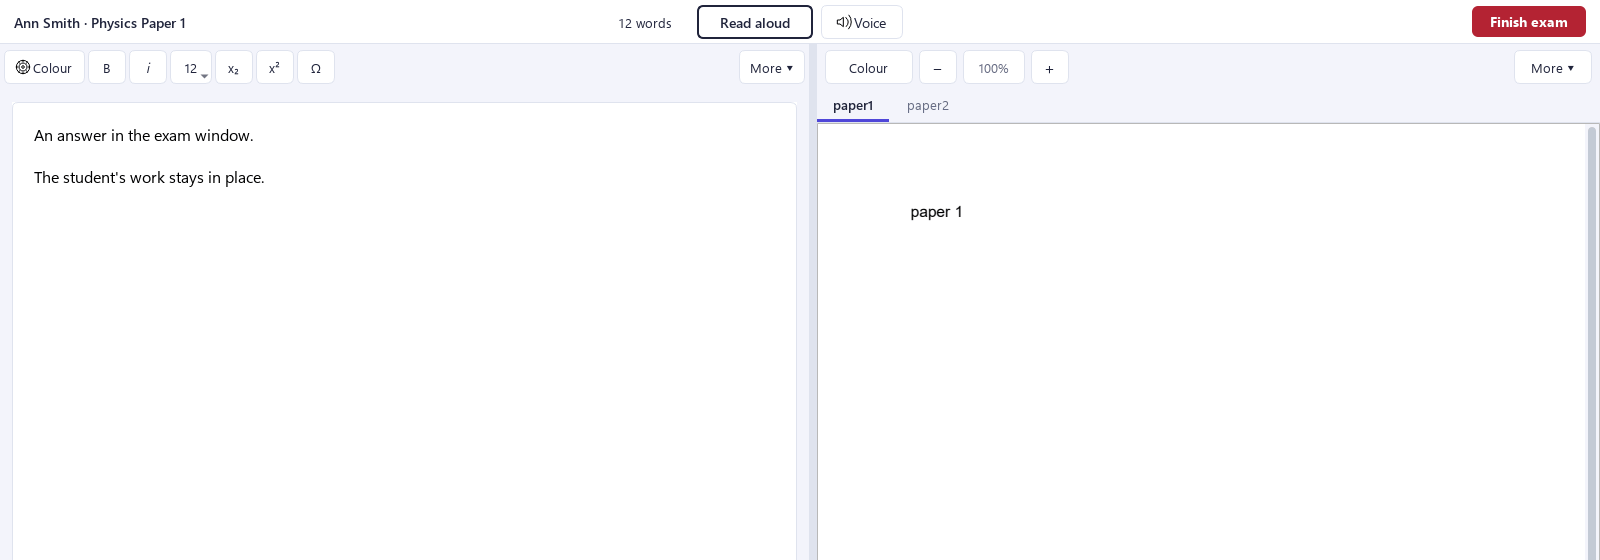
The answer document and papers open in one window with their arrangements. Work saves automatically, and Read aloud sits between the two.
They press Finish and confirm. The laptop goes back to the locked sign-in screen, ready for the next candidate.
For your exams team
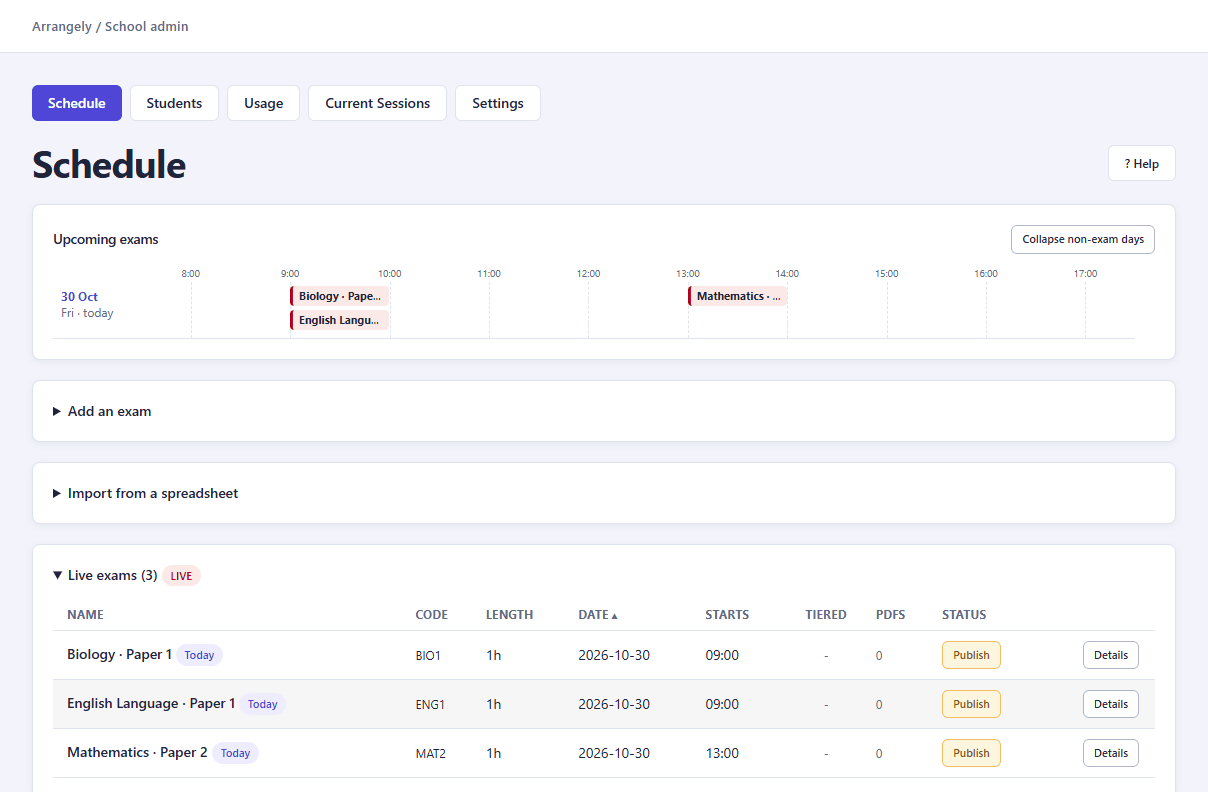
Add exams, upload papers, enter students and publish. A timeline shows what's on and when. Live exams and mocks are kept separate.
Export a spreadsheet or marksheet and match the columns one at a time, with examples from your own file. You see every pupil change before applying it, and you can undo the import.
See who's signed in where. If a candidate needs to move laptop, staff approve the move.
Collect finished work and review usage for each sitting, with a printable report for each exam.
Pre-Exam Checks on each laptop run a practice exam and test the server connection. Nothing from a practice exam is saved.
We're looking for UK schools to run Arrangely alongside what they use today, starting with mock exams.